Controller Programming Basics
Before delving into the intricacies of programming a sprinkler system timer, familiarize yourself with controller basics. Whether you’ve owned your timer for a while, or if you’ve just purchased one, it never hurts to learn everything from the beginning. That way, you create a sound foundation from which to base the rest of your sprinkler system programming. Learn the basic components and before tackling involved issues to keep confusion at bay.
So, you own a sprinkler system controller. That’s a great first step, but there’s still plenty to learn. We’ll begin by learning about the basic terms and features that are associated with modern sprinkler system timers.
The image below shows the Hunter X-CORE 6 Station Indoor Controller which features Solar Sync compatibility. A Solar Sync addition turns it into a smart controller which can use local weather conditions to change irrigation schedules as needed automatically.


Typical Timer/Controller Features
The next step in programming a sprinkler system timer is learning all about its basic features. Be sure to familiarize yourself with the following terms before attempting to program your sprinkler system timer. Don’t forget to refer to your sprinkler system controller manual to make sure that there aren’t any unusual features.
The image below shows a Hunter Pro-C 4 Station Indoor Modular Controller, available on SprinklerWarehouse.com.

The Hunter PC-300 Controllers are some of the most popular models for their ease of use and dependability. They work so well that some parts may wear out over time. This is why Hunter makes a replacement front panel so you don’t need to replace the entire unit when the elements have deteriorated the front panel.
Entering A Program
Now that you have the right day and time configured, it’s time to enter a program.

- Select the Program (A, B, or C) you want to program. For each program, you will need to set up the Water Schedule or “Days To Water”, Start Time, and Station Run Times.
- Select the “schedule” function (Days To Water). Use it to select the specific days that you want the irrigation to run. An example would be Monday, Wednesday, Friday, and Saturday. In some cases, you’ll need to specify the number of days between waterings.
- Select “start-time” and specify the time that you’d like the irrigation to begin. An example would be 5:45 am. If you have newly planted flowers, you may want to water a second time on the same day since the root zone may get dry by late afternoon. If you want to schedule the second start time at say 4:00 pm. Just remember that the second start time is for the Program you are setting up so all the zones you are watering on this Program will be watered a second time.
- Select the “run time” or related function. Select the station of your choice and enter the run time for that valve. Continue selecting stations and entering run times until you have entered a run time for all the stations you will be watering on this Program. Important: do not set a run time for the stations that will not be watered using this Program. A general rule to follow if you have no idea how many minutes to water per station, you can start with the following times and either increase the time if you see you are not getting enough water or decrease the time if you see you are applying too much water:
- 3 – 10 minutes for spray head zones
- 20 – 40 minutes for rotor head zones
- Program setup is complete once you have entered in the Water Schedule or “Days To Water”, Start Time, and Station Run Times.
Additional Programs
To set up additional programs select a Program (A, B, or C) other than the one you just set up using the steps above. Repeat the steps listed above for each Program you want to run. You will want to set the Station Run Times to zero for the stations you already have running on another Program (A, B, or C). Only add Station Run Times for the stations you want to water using the Program you are setting up.
Please note that different sprinkler system timers have different controls and features. Some use dials, while others are 100% digital. Make sure to read through the specific instructions that have been outlined by the manufacturer.
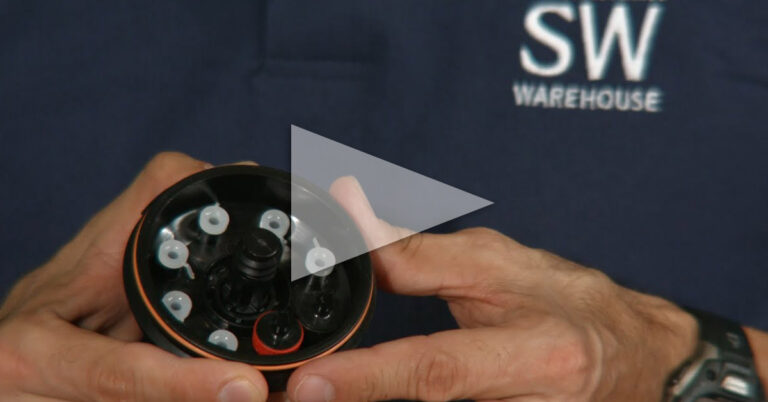
Rotor Heads
When you need to water large expanses rotor heads are the best option. They have a much lower application rate than spray heads do. Rotors are used to save labor on installation since they cover a larger area than spray heads so you can space them out much farther apart. They are also a better choice for sloped areas or areas that are made up of clay soils since they apply water at a slower rate and thus help prevent water runoff.

Spray Heads
These sprinkler heads dispense high volumes of water in short periods of time. They are best suited for flat, even areas; do not use them on slopes. They are also suitable for small, hard-to-reach areas of lawn, and they are practical to use in areas where you’d like to avoid spraying a house, cars or the street.

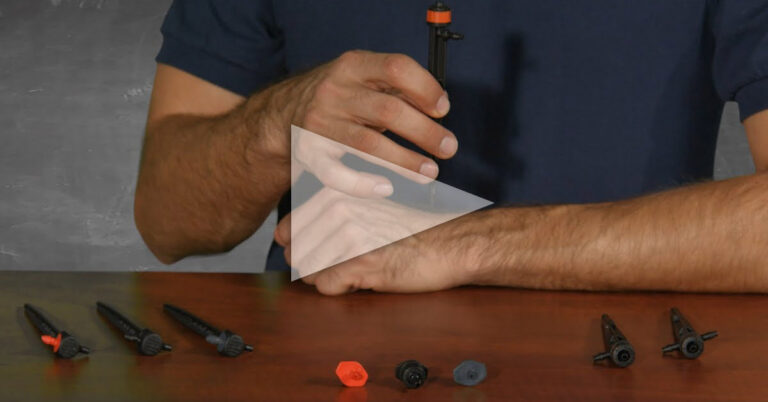
Drip Systems
A drip system consists of a series of tubes that have small holes in them. These holes dispense small amounts of water to specific areas. This helps promote water conservation. Drip systems are best suited for flowerbeds, shrubs, and groups of cacti since individual root systems can be targeted with ease.
Programming a Sprinkler System Timer for Efficiency
You may know the basics about entering programs and setting up a sprinkler system controller, but that doesn’t mean that you know how to use one efficiently. The following tips, tricks, and advice can help you make the most out of your sprinkler system timer.
Group Programs For Maximum Efficiency
Once you’ve mapped out the locations of all of the valves in your yard, you’ll be able to devise a sensible programming scheme. You should use one program to handle the needs of your lawn; it should control all of the valves that irrigate areas consisting primarily of grass. Another program should be to irrigate sections of flowerbeds or ground cover. Another program should be used for drip systems.

Invest In An Automatic Rain Shut-Off Device
Some sprinkler systems come with automatic rain shut-off sensors included. If yours doesn’t, be sure to invest in one right away. These handy devices can be programmed to turn off your regularly scheduled programs whenever a specific amount of rain has fallen. Most people set these devices to kick in whenever half an inch or more of rain has fallen. After all, it hardly makes sense to water your property when plenty of rain has recently fallen. This is a great way to avoid wasting valuable water and to reduce your water bill.
Water Early In The Morning
While you have full control over the times of day that each program runs, it is almost always best to perform irrigation during the early morning hours. During the middle of the day, the wind can carry off water droplets or the blazing sun can evaporate a lot of the water that is produced by your sprinkler system; in turn, the plants that it’s intended for don’t receive nearly as much of it. Wind can also significantly disrupt the spray pattern of the sprinklers causing wet and dry spots.
If you water during the early morning, you’ll be able to use a lot less water, which is another smart way to reduce your water bills and help the environment. Furthermore, watering at night promotes plant disease and fungus growth.
Avoid Overwatering
If you think that it’s impossible to over-water plants, think again. Over-watering can be just as detrimental to plants as under-watering. By programming your sprinkler system controller the right way, you can provide the exact right amount of moisture for the various plants on your property without inadvertently over-watering them. The key thing to avoid is creating water run-off; if you see it happening, you know that you’re overdoing it.
Get The Most Out Of Your Sprinkler System Timer
As you can see, programming a sprinkler system controller doesn’t have to be a mind-boggling experience. By learning about the way that your system is set up, familiarizing yourself with its valves, learning about the different types of sprinkler heads that are involved, and understanding the needs of different types of plants, you can achieve a suitable and sensible irrigation schedule with a minimal amount of hassle. You can also extend the capabilities of your irrigation controller with an expansion module.
The image below shows the Rain Bird ESP4Me 6 Station Expansion Module which can add 6 additional zones to your irrigation system.

For more specific calculations you can perform to determine the optimum watering frequency for your system, visit the related links below.